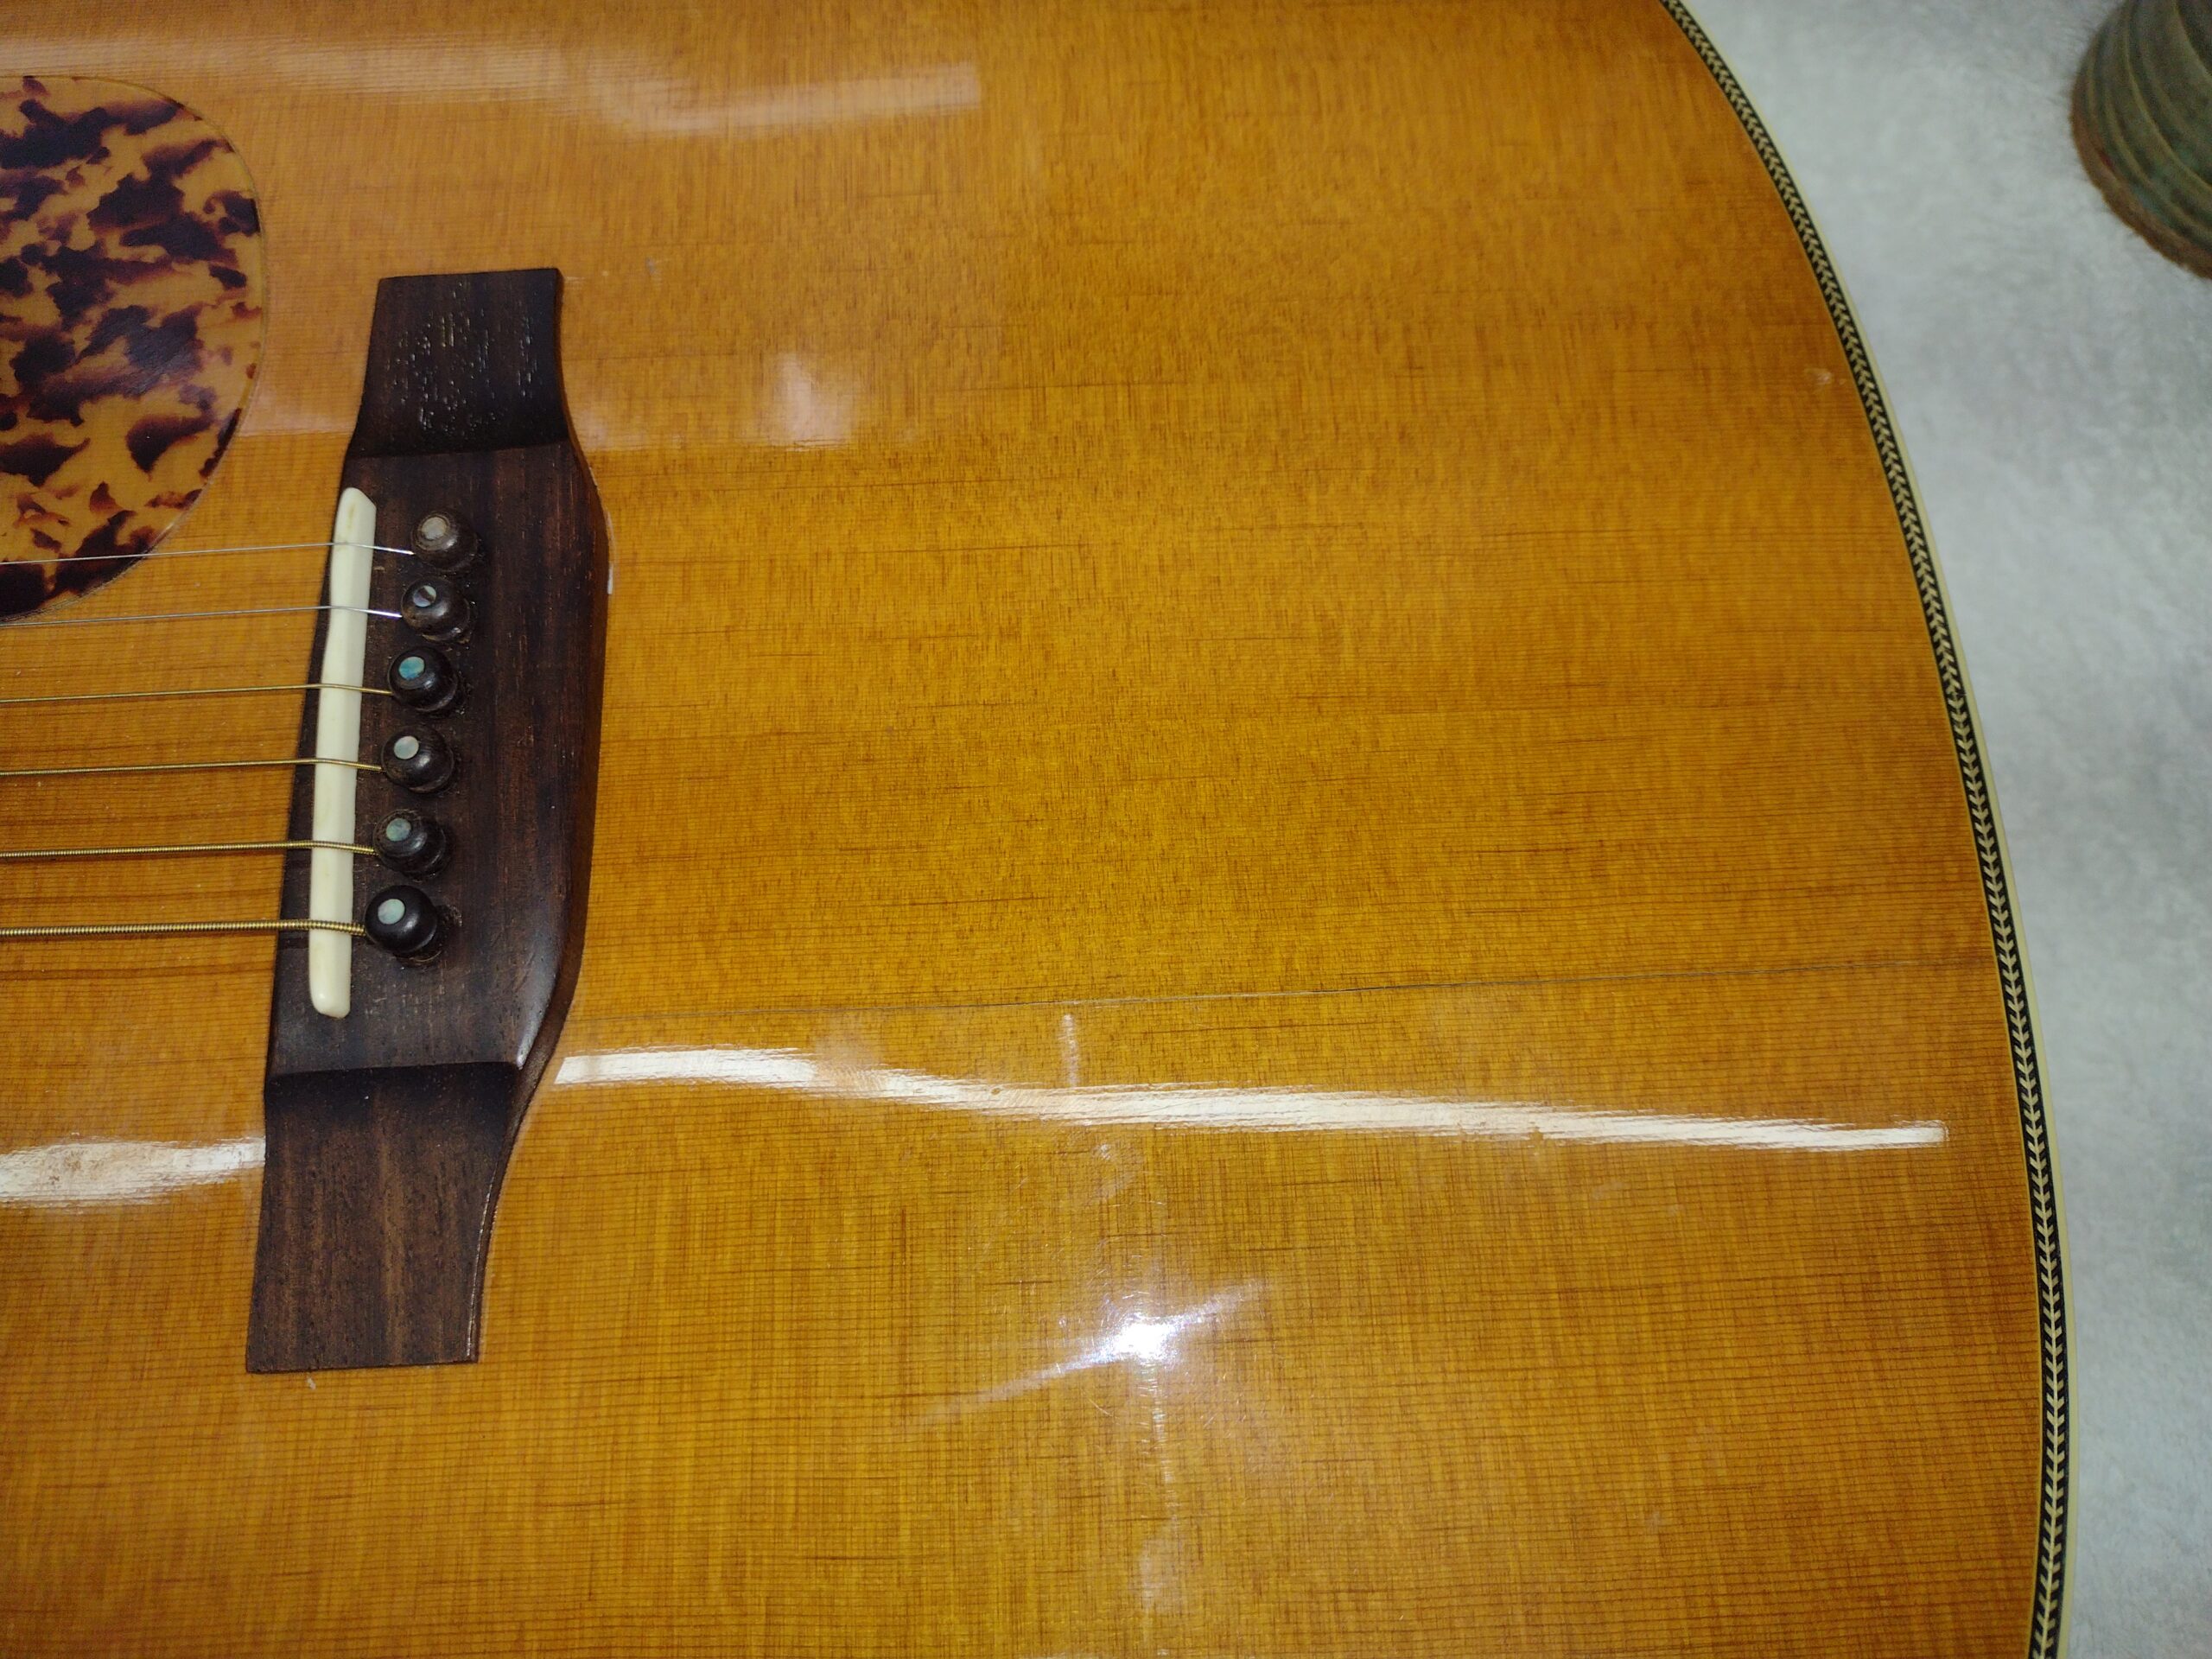
A dreadnought style guitar came in recently with a crack in the top. The crack reached from the bottom edge of the bridge all the way to the binding on the edge of the top. This crack was pretty open, seemed like it may have been that way for a while, and the edges of the crack demonstrated considerable flexibility on each side.
Humidity wise, this guitar was pretty dry when it came in. I humidified this guitar for several days in its case until it reached about 50% humidity. I then allowed it to maintain that humidity level for a few more days. The top crack closed up significantly but still needed gluing to regain stability and behave like one piece of wood again.
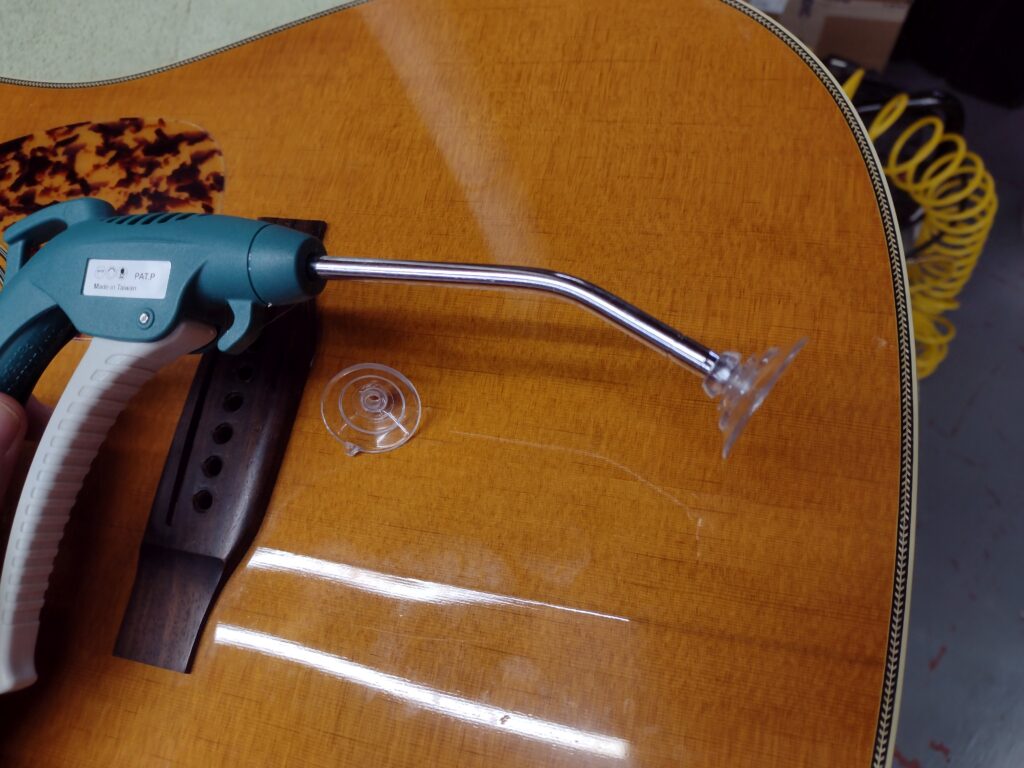
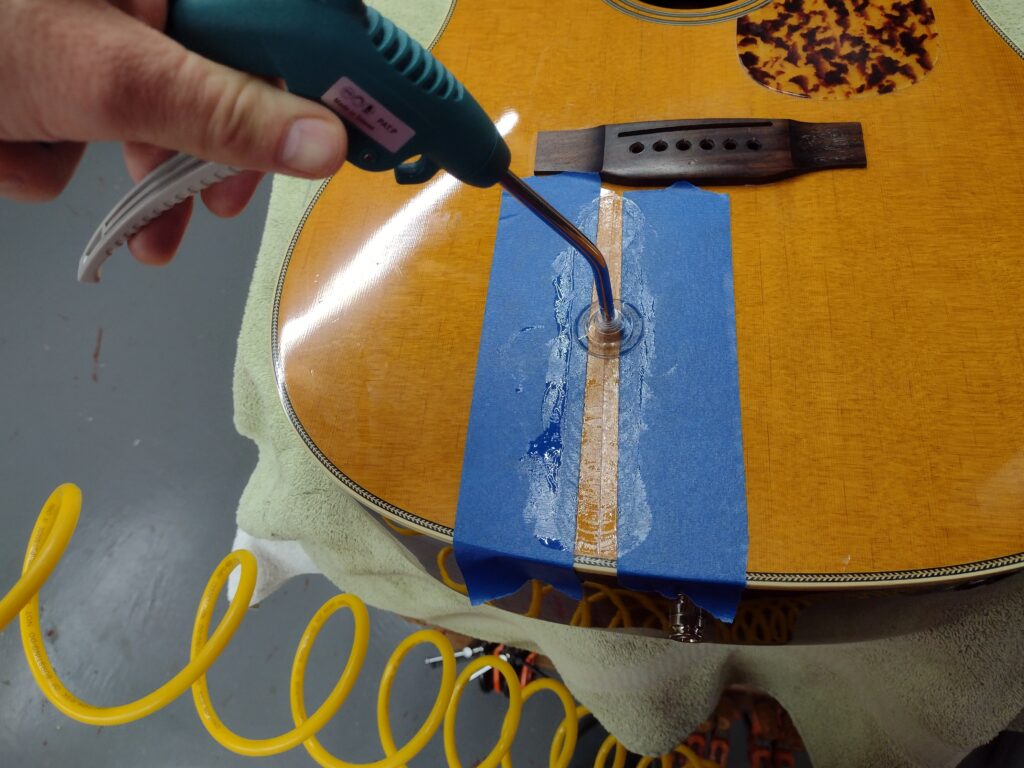
Seen in the image below, the crack is quite visible before gluing. I used an airgun with suction cup attachment to gently push glue into the crack. I chose to use fish glue for its easy warm water clean-up and re-work-ability. Then clamped to a concave work board to allow the glue to dry for 12 hours.
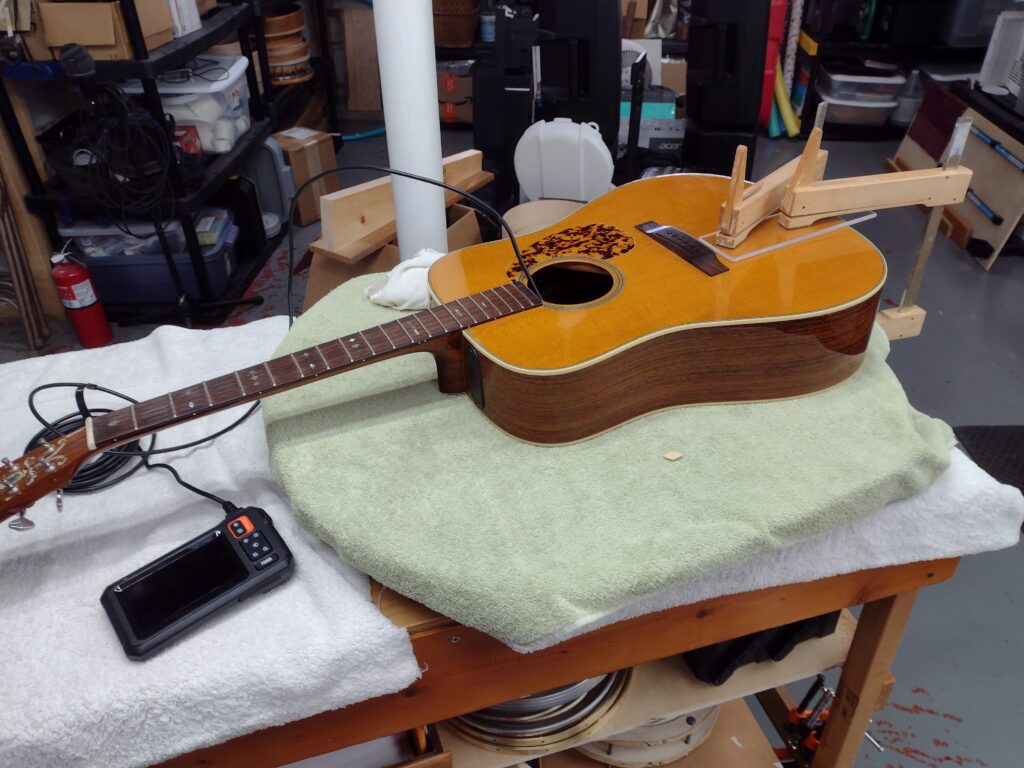
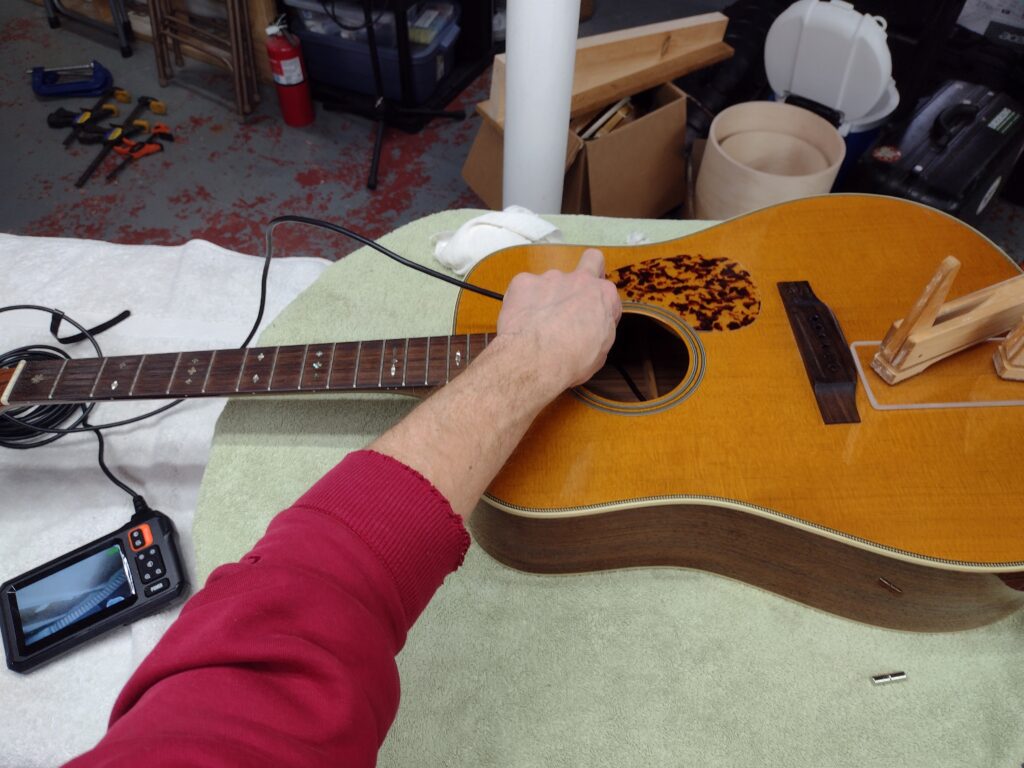
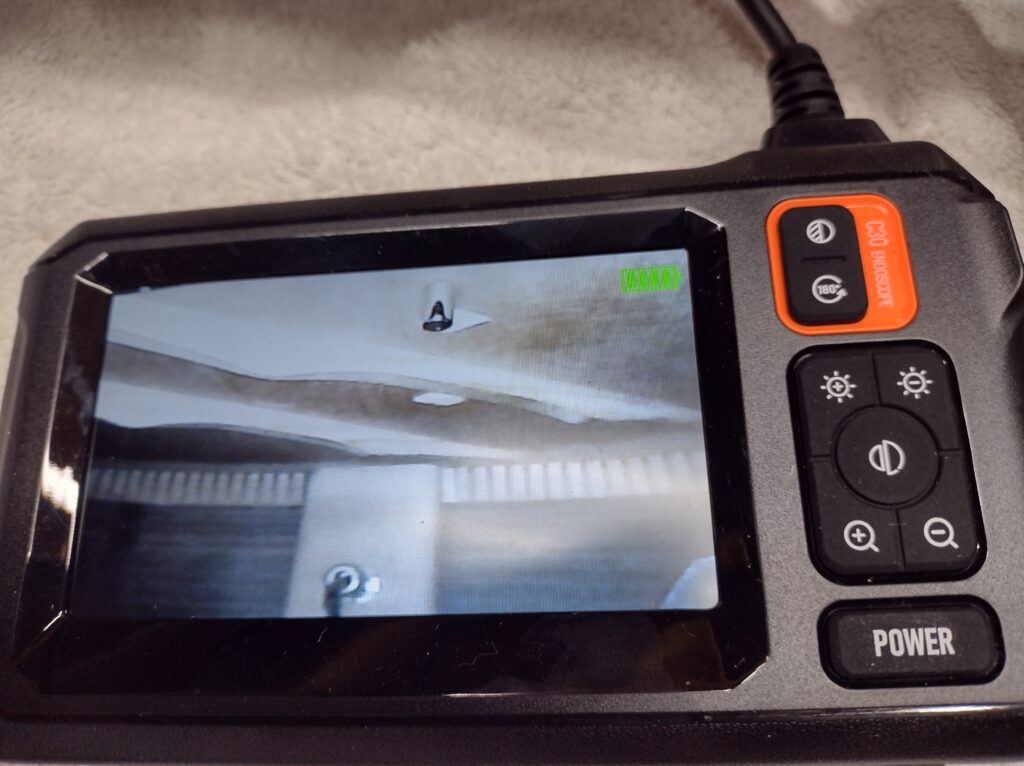
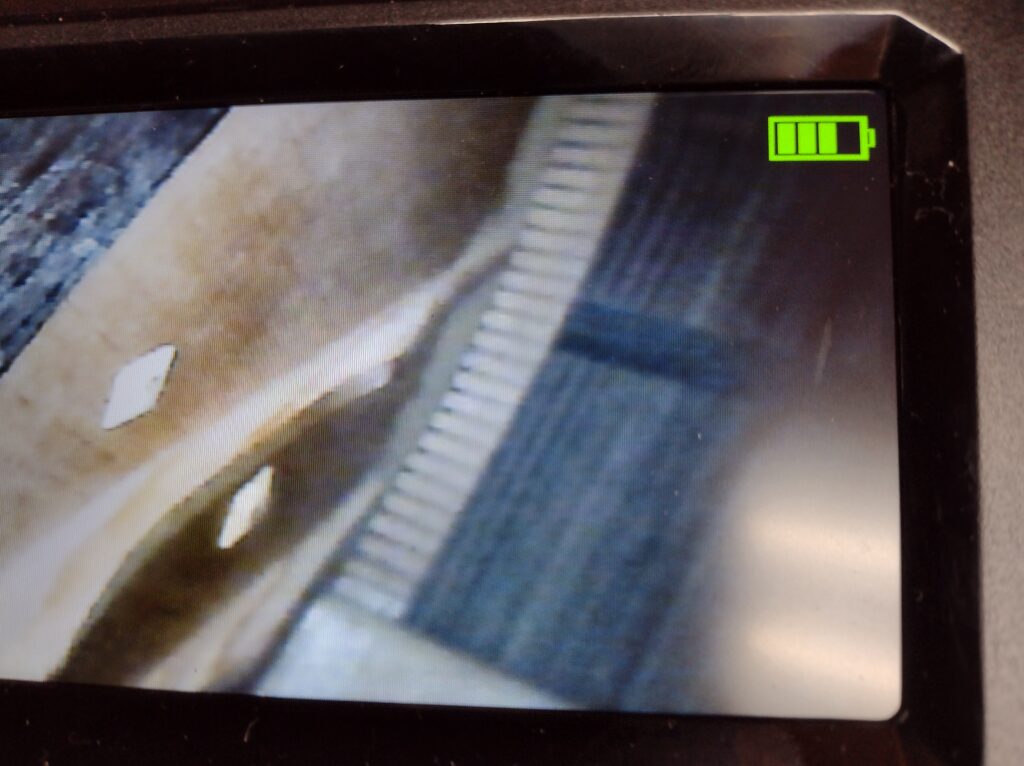
I then added two cleats on the inside of the top to reinforce the crack. I used an endoscope and rare earth magnets to help me get the cleats positioned correctly on the inside of the guitar.

After the repair the crack is still somewhat visible but has been structurally stabilized. The top will once again behave like a continuous piece of wood which will allow it to produce tone and volume at its best.